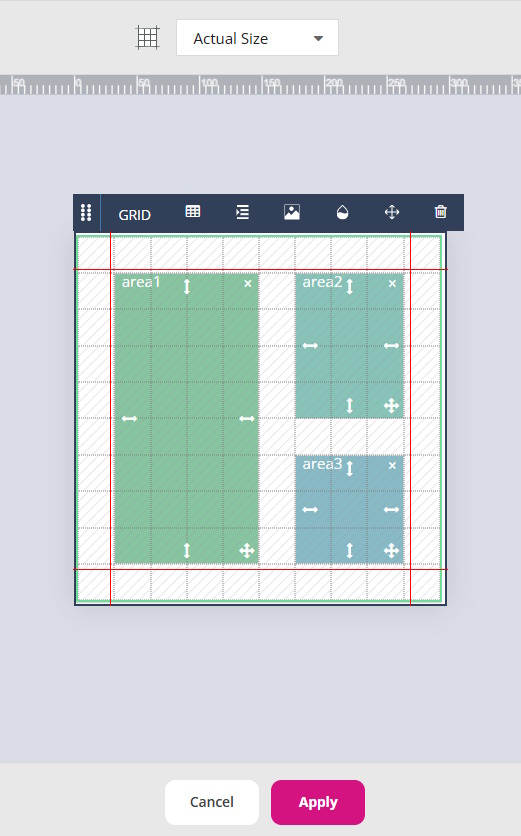
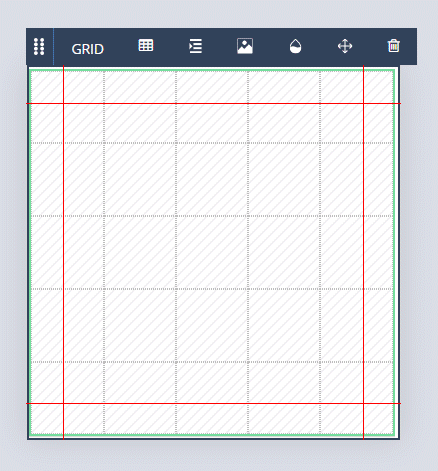
Layouts in SizeIM are set out using a grid system. When first created, a layout will contain a grid consisting of 5 rows and 5 columns. The number of columns and rows can be edited using the Grid Properties. Space can be created between the grid cells using the Row Gap and Column Gap properties.
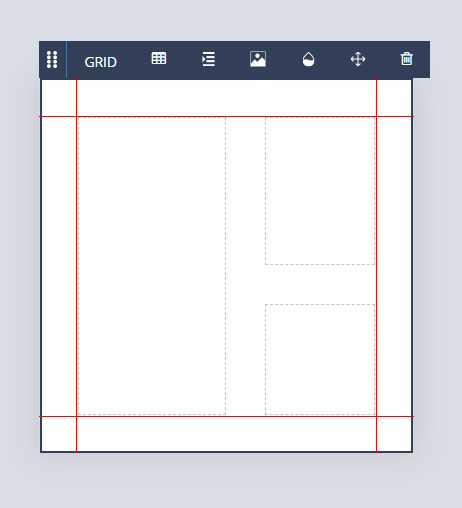
Once the grid has been set out, containers for content can be created by clicking in the grid and manipulating the colored content area that appears until it is positioned and sized correctly. The content areas will snap to the defined rows and columns. They can be repositioned and resized by clicking and dragging on the appropriate icons within the colored rectangle. Content Areas can be deleted by clicking on the ‘x’ at the top right hand side of the area.
Content areas can overlap, but will always be treated as separate entities.
Once all of the content areas have been defined, clicking ‘Update Cells’ at the bottom of the Grid Properties panel will create cells, inside of which elements can be created by dragging them from the Add Content Control Column. Alternatively, cells can be created from the defined areas by clicking on ‘Apply’, immediately under the canvas.
Content areas can be further added or edited by clicking on the Grid Icon immediately above the Canvas, and clicking ‘Update Cells’ or ‘Apply’ to commit the changes to cells. Existing cells, when edited, will still contain any content that they had previously been populated with.
When setting up a project, You should define your layouts for the Tower, Square and Banner versions of your master page before clicking ‘Generate’ to create the full set of sizes in the project’s associated profile(s).