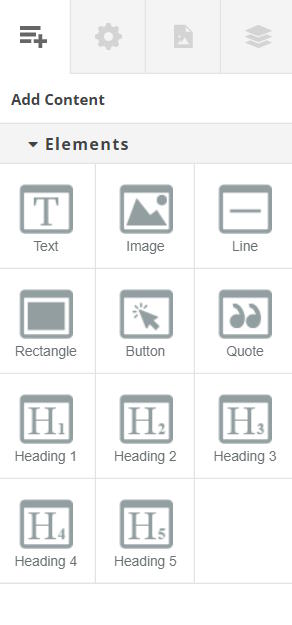
Once your content areas have been set out, you can begin to populate them with text and/or images. To do so, click on the ‘Add Content’ tab at the top of the Control Columns and drag elements from the Elements panel to your layout.
Elements are the individual components that make up your layouts. Examples of elements available for use include text, images and buttons.
If you have set up and selected a brand when creating your project, elements will be styled as defined within your brand when they are first added to the canvas. Otherwise, they will adhere to the default brand built in to SizeIM. In either case, elements can be styled in place on the Canvas after they have been added to a layout.
Dragging multiple elements into the same content area will stack them vertically by default. This can be changed in the Alignment property panel by changing the Flex: Direction property from ‘column’ to ‘row’. You can also change the order of the elements using the ‘column-reverse’ and ‘row-reverse’ values. This can be useful if, for example, you want text to appear above a button in one layout but you need it to appear below a button in another layout.

Once you have finished adding content to the square 300×300 layout, it’s time to lay it out in a banner and a tower. SizeIM will then use these three formats to generate the rest of the image sizes specified in the attached profile(s).