Team members can be added, edited or removed using either the My Team area of the SizeIM app, or the Central Admin Dashboard.
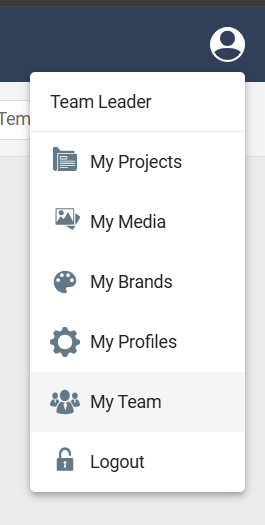
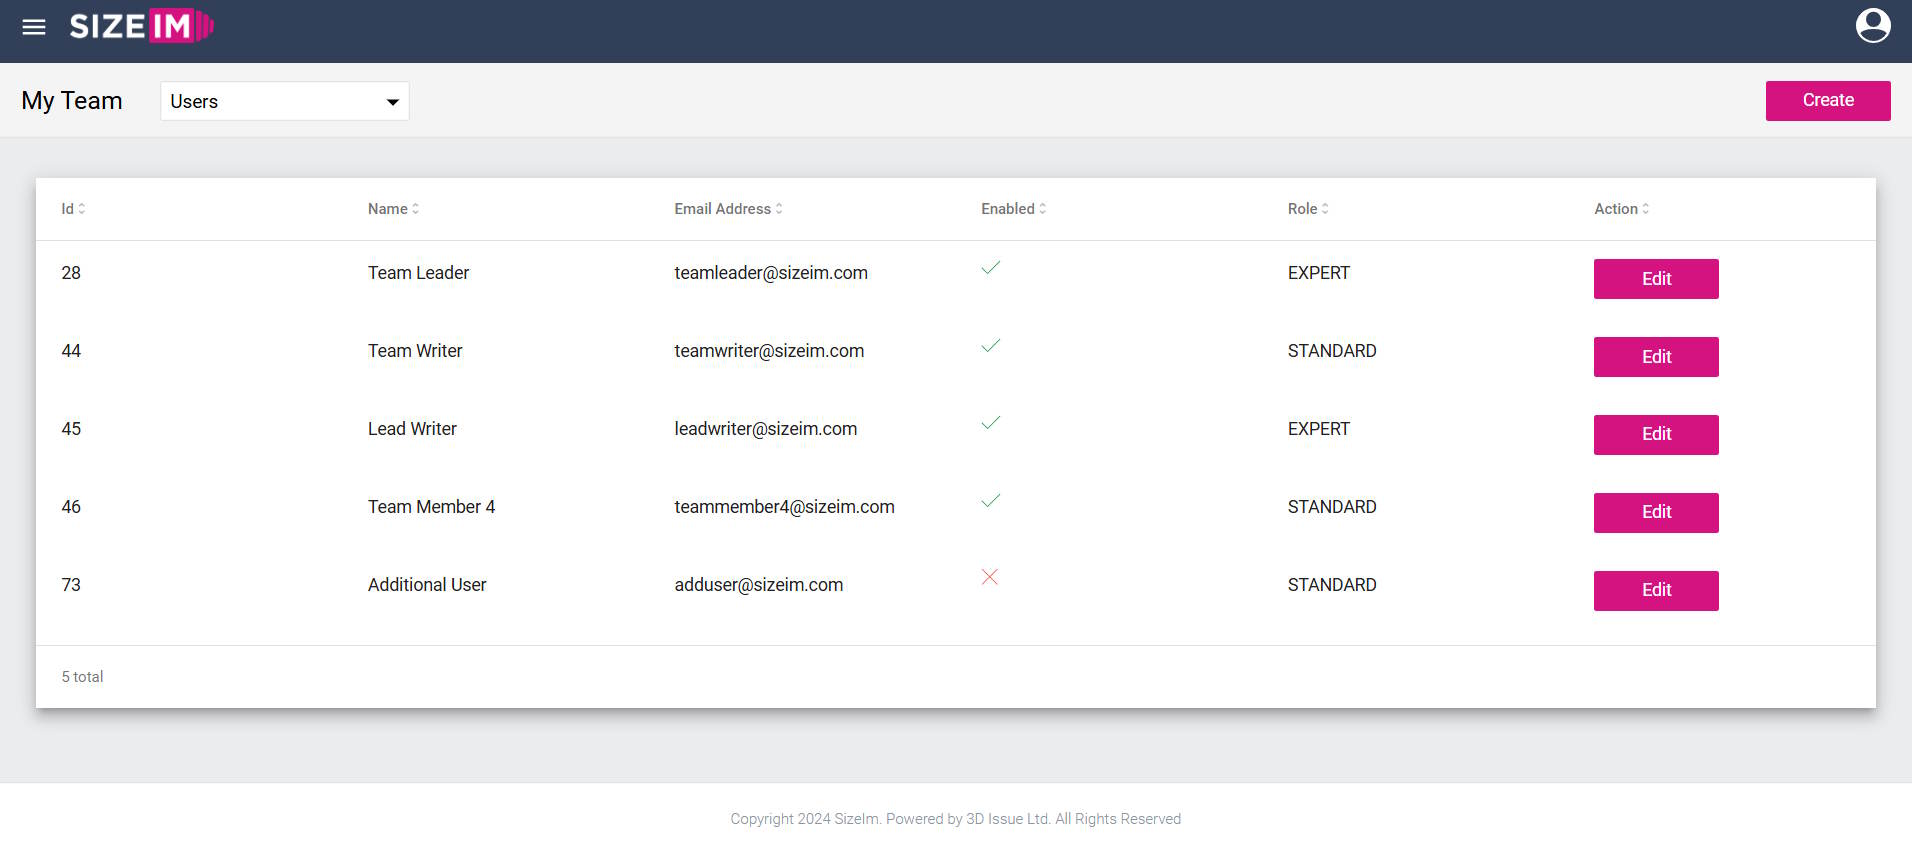
To manage your team from within SizeIM, click on My Team in the main SizeIM menu. Team members can have two possible roles in the SizeIM dashboard – Expert or Standard. Expert users have control over all aspects of a project. Standard users are restricted to editing content which already exists in designs.
In the Central Dashboard, users can have two possible levels of permissions – Company Admin or Regular User. Company Admins will be able to see all projects under the account when they log in to SizeIM, regardless of who created them. In order for a Regular User to have access to a project, they must have been assigned permission to do so.
To grant a user access to a project:
- Log in to the Central administration area at https://central.3dissue.com using an administrator-level account.
- Click on ‘SizeIM’ on the menu on the left-hand side
- Select the ‘Projects’ tab
- Click on the ‘edit’ icon next to a project name
- Click on the ‘Users’ tab above the project details
- Click on the ‘Assign User’ button
- On the list of users that appears, select the checkbox for each user you want to add to the project. Use the ‘Access’ dropdown menus to provide read/write or read only permissions, and select start and end dates for access.
- Click ‘OK’
Your users will now be able to see the projects to which they have been assigned when they log in to SizeIM.