The Image Element enables you to place an image on a page. When an Image Element is first added to your layout, it will be empty, and you will need to select an image for the Element to contain. This can be done in one of two ways:
- Double-click on the Element on the Canvas, or
- Click on the Pencil icon on the Image Label.
Each of these actions will open the Content Library Panel. From here, you will have the opportunity to:
- Upload a new image. Images can be uploaded privately for your own use, or as a shared upload that the rest of your team can access. Click on the down arrow on the right of the Upload button to select between private and shared uploads.
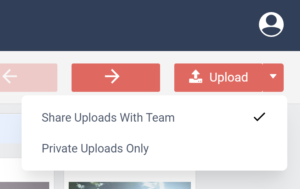
Selecting between shared and private uploads - Select an image that has previously been uploaded.
- Search a library of stock images (from Unsplash.com).
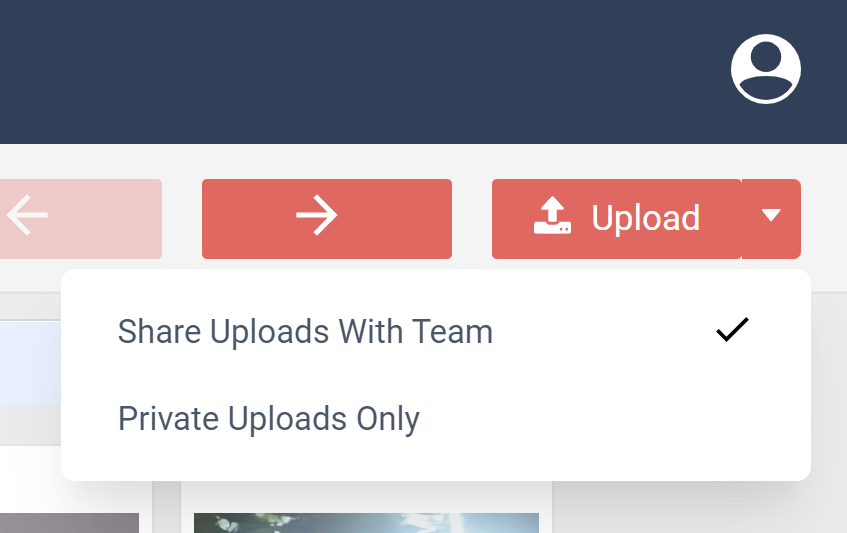
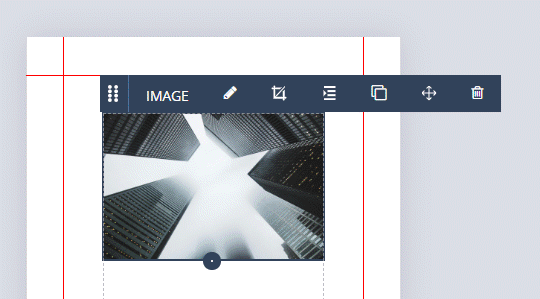
Image Element Settings
- Layout
This determines the placement of your chosen image within the element. The options available are:
◦ Contain
The image will be entirely contained in the space set out for the element.
◦ Cover
The image will be scaled proportionally in order to completely fill the space set out for the element.
◦ Fill
The image will be scaled unproportionally in order to completely fill the space set out for the element.
◦ Scale-Down
If the image is too large, it will be scaled down to fit the space. This option prevents the image from being scaled up.